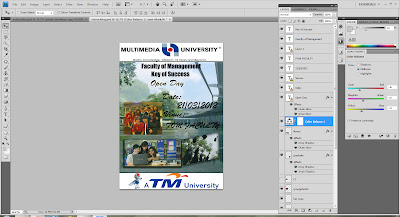
As the below, is some of my step that doing some retouching for my pictures :
Step 1~
I am using the Levels to Manual adjust the tone to change the darkness and the highlights by using the level 1 of this tone.
Step 2 ~
I am using the color balance to manage the color range of midtone, shadow and highlight skills for my picture that i want to retouching it. You can see that the different between these two pictures when i finish used this tools for it.
Step 3 ~
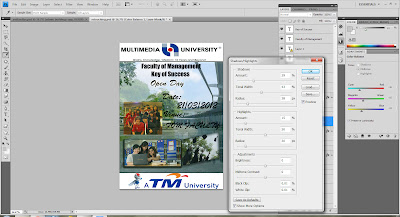
I was choosing by clicking the "Image" for - Adjustment -Shadow and Highlight tools to manage adjustment to become more clearly for the pictures.
Step 4 ~
For this time, i am using the "filter" style to Sharpen and Unsharp Mask to increase radius and threshold to edit the name of our university.
Step 5 ~
Lastly, for my last step that i retouching my picture are using the Filter- Sharpen- Smart Sharpen to make our university logo to become more dimension and graphic for it. It will let us look like have some different and new feeling for this time.
That all in this section of retouching part that i want to tell you all how to do it and the steps for this part. Hope you all can understand some of this after read through this short briefly introduce of retouching skill. Thanks for get a look of it..And enjoy it ya..^^ :P


No comments:
Post a Comment